Thursday, January 29, 2009

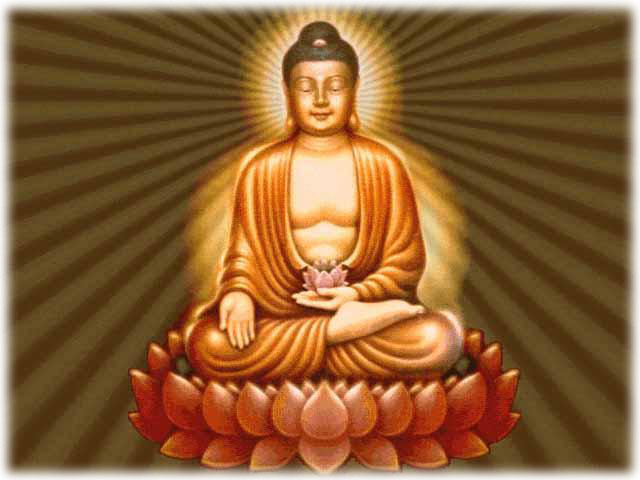
Why the Buddha sat in lotus position


Unfortunately, we didn’t learn to sit crosslegged on the floor when we were kids, the way most Indians and many other traditional Asians did. As a result, you may find it difficult to sit cross-legged at first, and you may feel inclined to retreat to the apparent ease and comfort of a chair. But I’d like to encourage you to give cross-legged sitting a try at some point, if your body and comfort level allow. It isn’t necessarily as difficult or as painful as it appears — and besides, it has some unique advantages. For one thing, crossing your legs creates a solid, stable foundation for the rest of your body and tends to tilt your pelvis forward naturally at just the right angle to support your spine. Also, there’s something about sitting the way the great meditators of the past used to sit that lends a certain power and authority to your meditation — as though crossing your legs immerses you in a river of awareness that dates back thousands of years.
Finally, sitting with your buttocks on or close to the earth directly connects you with gravity and the other energies the earth emanates — and gives a palpable feeling of groundedness and strength to your meditation.
Ultimately, of course, whatever you do with the lower half of your body is fine, as long as you can sit comfortably and keep your back straight with relative ease. But you can work up to the luxury of cross-legged sitting by gradually stretching your hips, until, one day, both knees touch the floor and — voilĂ ! — you’ve arrived.

Straightening your spine without rigor mortis

When you’re settled into a comfortable sitting position, with your pelvis tilted slightly forward, you can turn your attention to straightening your back. Of course, straight is a misnomer when used to refer to the spine, because a healthy back actually has several distinct curves, one at the lumbar region or lower back, another at the thoracic area or midback, and a third at the neck or cervical spine.
Unfortunately, these natural curves are often exaggerated by the demands of computer workstations and other sedentary environments, and you gradually get into the habit of sitting hunched over, with your shoulders rounded, your upper back collapsed, and your neck and head craned forward like a turkey vulture — the way I’m sitting right now! You may not be able to reverse sitting habits like these in a few sessions of meditation, but you can experiment with extending your spine — a more accurate term than straightening — and slowly but surely softening those curves back to their natural, graceful arch. You may find yourself carrying these new sitting habits into your other activities so that in time, you’re gently correcting your posture while driving your car or sitting at your desk, for example.
Try one or all three of the following images to help you discover what a straight or extended spine feels like. Don’t bother to look in the mirror or compare yourself to some ideal you’ve picked up in books (even this one). The important thing is how your body feels from the inside. You want to feel centered, stable, grounded — and aligned with the force of gravity:
  • Suspending your head from a string: Imagine that your entire body is suspended in the air from a string attached to the crown of your head. (The crown is the highest point on the top of your skull, toward the back.) As you feel the string pulling your head up into the air, notice how your spine naturally lengthens, your pelvis tilts forward, your chin tucks, and the back of your neck flattens slightly.
  • Stacking your vertebrae one on top of another: Imagine your vertebrae as bricks that you’re stacking one on top of the other, beginning with the first at the base of the spine. Feel your spine growing up toward the sky brick by brick, like a skyscraper.
  • Sitting like a mountain or tree: Imagine your body as a mountain or tree with a broad base that extends deep into the earth and a trunk or peak that reaches toward the sky (see Figure). Notice how stable, grounded, and self-sufficient you feel.

Lotus Positions

Quarter lotus
Exactly like half lotus (see the following section), except that your foot rests on the calf of your opposite leg, rather than on the thigh (see Figure A).

Half lotus
The half lotus is easier to execute than the famous full lotus (see the following section), and nearly as stable (see Figure B). With your buttocks on a cushion, place one foot on the opposite thigh and the other foot on the floor beneath the opposite thigh. Be sure that both knees touch the floor and your spine doesn’t tilt to one side. To distribute the pressure on your back and legs, remember to alternate legs from sitting to sitting, if you can — in other words, left leg on the thigh and right on the floor, then left on the floor and right on the thigh.

Full lotus
Considered the Everest of sitting positions. With your buttocks on a cushion, cross your left foot over your right thigh and your right foot over your left thigh. As with its more asymmetrical sibling, half lotus, it’s best to alternate legs in order to distribute the pressure evenly. Full lotus has been practiced throughout the world for many thousands of years. The most stable of all the poses, don’t attempt it unless you happen to be particularly flexible — and even then I suggest preparing by doing some of the stretches.

Tuesday, January 13, 2009

Burmese position


Used throughout Southeast Asia, the Burmese position (see Figure) involves placing both calves and feet on the floor one in front of the other. Though less stable than the lotus series, it’s much easier to negotiate, especially for beginners. With all the cross-legged poses, first bend your leg at the knee, in line with your thigh, before rotating your thigh to the side. Otherwise, you risk injuring your knee, which is built to flex in only one direction, unlike the ball-and socket joint of the hip, which can rotate through a full range of motion.

Easy position

This position is not recommended for extended periods of sitting, because it’s not very stable and doesn’t support a straight spine. Simply sit on your cushion with your legs crossed in front of you, tailor-fashion. (Believe it or not, tailors once sat this way!) Your knees don’t have to touch the floor, but do keep your back as straight as you can.
You can stabilize the position by placing cushions under your knees; gradually decrease the height of the cushions as your hips become more flexible (which they naturally will over time). When your knees touch the ground, you may be ready for Burmese or lotus position (see the following sections for these positions).
This pose can be a short-term alternative for people who can’t manage the other positions in this section, can’t kneel because of knee problems, or don’t want to sit on a chair for some reason.

Kneeling (with or without a bench)


This position is popular in ancient Egypt and in traditional Japan, where it’s called seiza (pronounced say-za; see Figure). Kneeling can be — well, hard on your knees, unless you have proper support. Try placing a cushion under your buttocks and between your feet — or use a specially designed seiza bench, preferably one with a soft cushion between you and the wood. Otherwise, your bottom and other tender parts may fall asleep.

Sitting in a chair meditation


Notice that I say sitting, not slouching (see Figure). The trick to meditating in a chair is positioning your buttocks somewhat higher than your knees, which tilts your pelvis forward and helps keep your back straight. Old-fashioned wooden kitchen chairs work better than the upholstered kind; experiment with a small cushion or foam wedge under your buttocks.